It's no secret that I love pockets. So with a new cardigan design in the works, it's a not an option whether it'll have pockets or not. It WILL have pockets! In my last blog on pockets I did the Side Seam Pocket. This time I'm going to show you a very easy way to add a Patch Pocket. And don't worry, if you have your sweater knit already and want to add pockets, this technique allows you to do just that!
When your cardigan body is complete you will need to size it up to see where you want your pockets to be placed. The best way to do this is to get thread of contrasting color and map it out.
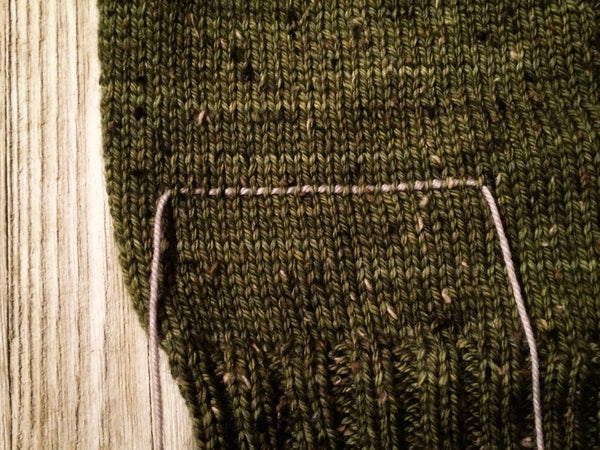
Using my cardigan as an example, I placed the thread 14 rows up from the hem and 8 rows in from the edge over 24 stitches. When choosing the number of stitches that you want, keep in mind what type of edge you want. I used a 2x2 ribbed edge and I also wanted an extra stitch on either end for my selvedge stitch and for it to begin and end the same. Over 24 stitches my pattern was K3, (P2, K2) repeat to last stitch and K1 on the right side and P3, (K2, P2) repeat to last stitch and P1 on the wrong side. Also, I like the size of the pocket!
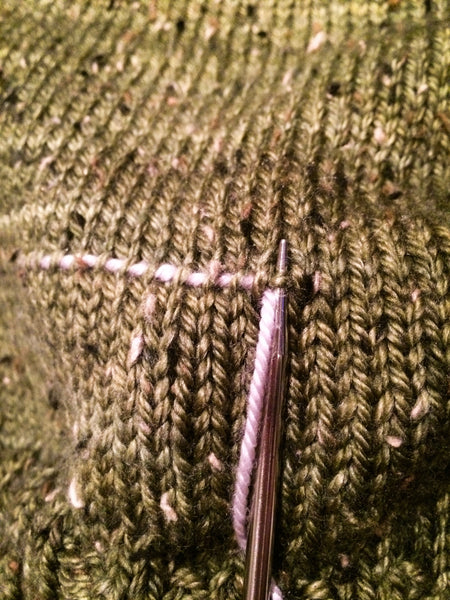
Now that you have your pocket mapped out and it's exactly where you want it, it's time to start picking up stitches. If you put you right hand needle in between 2 stitches you will see a horizontal bar as shown in the picture above. This is where you pick up stitches. The contrasting thread will keep you on the straight and narrow and guide you across to ensure a straight pocket. Place your needle under the bar, wrap your yarn around and pull through the same as you would pick up a stitch anywhere else in your knitting.
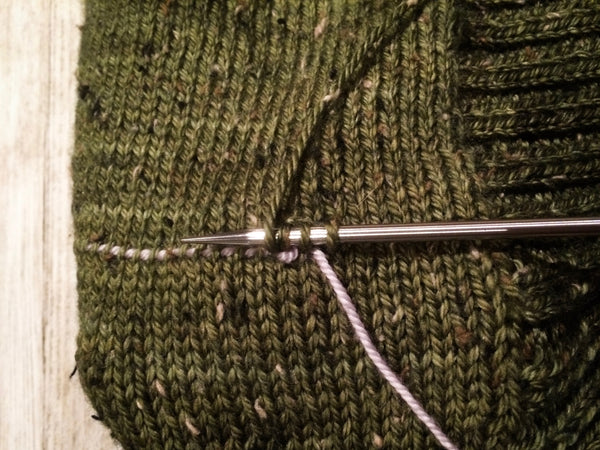
The picture above shows a couple of stitches picked up. Even with the contrasting thread in place, it can still be easy to grab the wrong horizontal bar so just take your time working your way across.
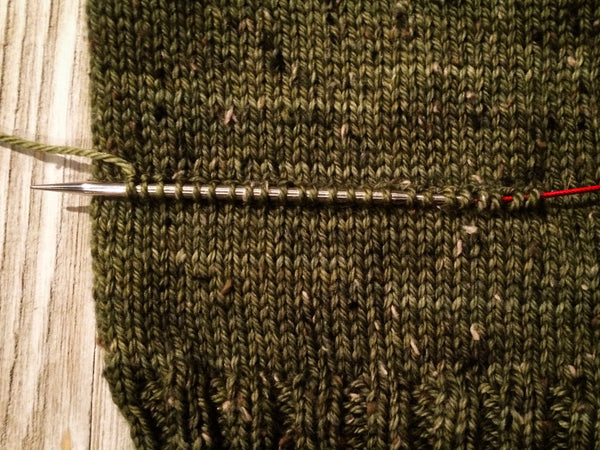
After all the stitches have been picked up, you will be working back and forth to create a flap. My pocket will be in Stockinette with a 2x2 ribbed edge. So after all stitches are picked up I turn and purl across the row.
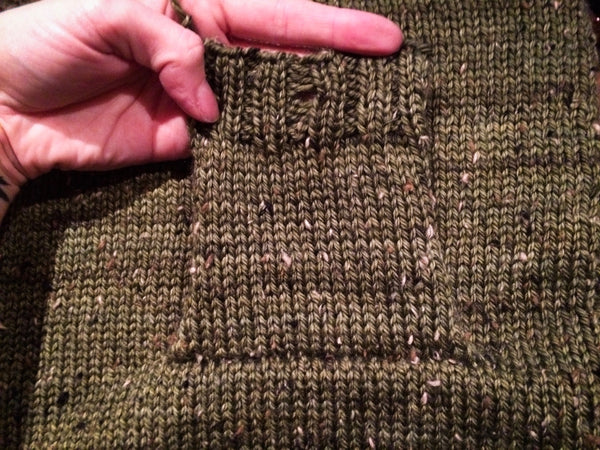
After knitting in Stockinette stitch for the desired length, ending on a purl side, start the ribbing of your choice. As you can see in the picture above I chose to add a button hole. Half way across the row I made a yarn over and purled or knitted 2 together (all depending on where you are in your pattern).
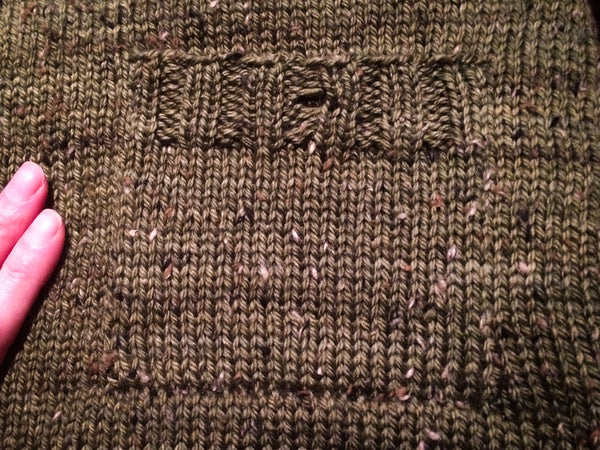
Next, attach the sides of the pocket to the sweater using the Mattress stitch. Place contrasting thread before starting to ensure that you are seaming up a straight line if you think you may need it. As you can see in the picture above, besides the bottom edge of the pocket, the sides of the pocket blends seamlessly into the sweater. Pockets and TWEED!!! Two of my favorite ingredients for cozy sweater! I'm using Biscotte's Hagrid yarn in Kalamata and it is AH-MAZING!!
And that's how you place a Patch Pocket after your sweater is finished! I think it's a very cool technique! It doesn't use much yarn and usually after a project is finished there's some yarn left so you can add a pocket to any sweater now! Also, you can make the pockets more decorative with cables or different stitch patterns as well. Oh the possibilities!!
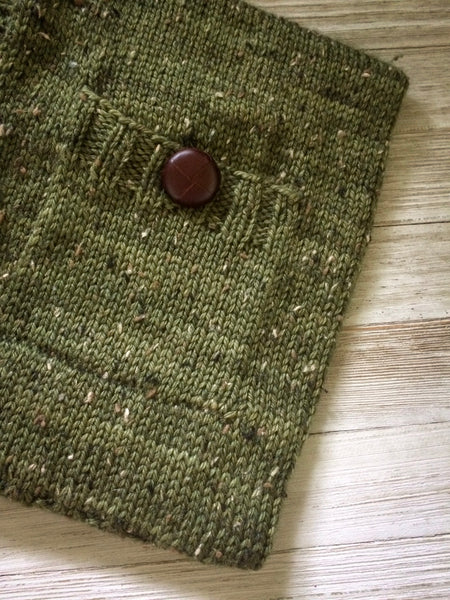
Have you tried this technique of adding Patch Pockets to a sweater?


